Android 类微信界面设计
设计APP门户界面,其中包含4个tab切换效果。
01 功能分析
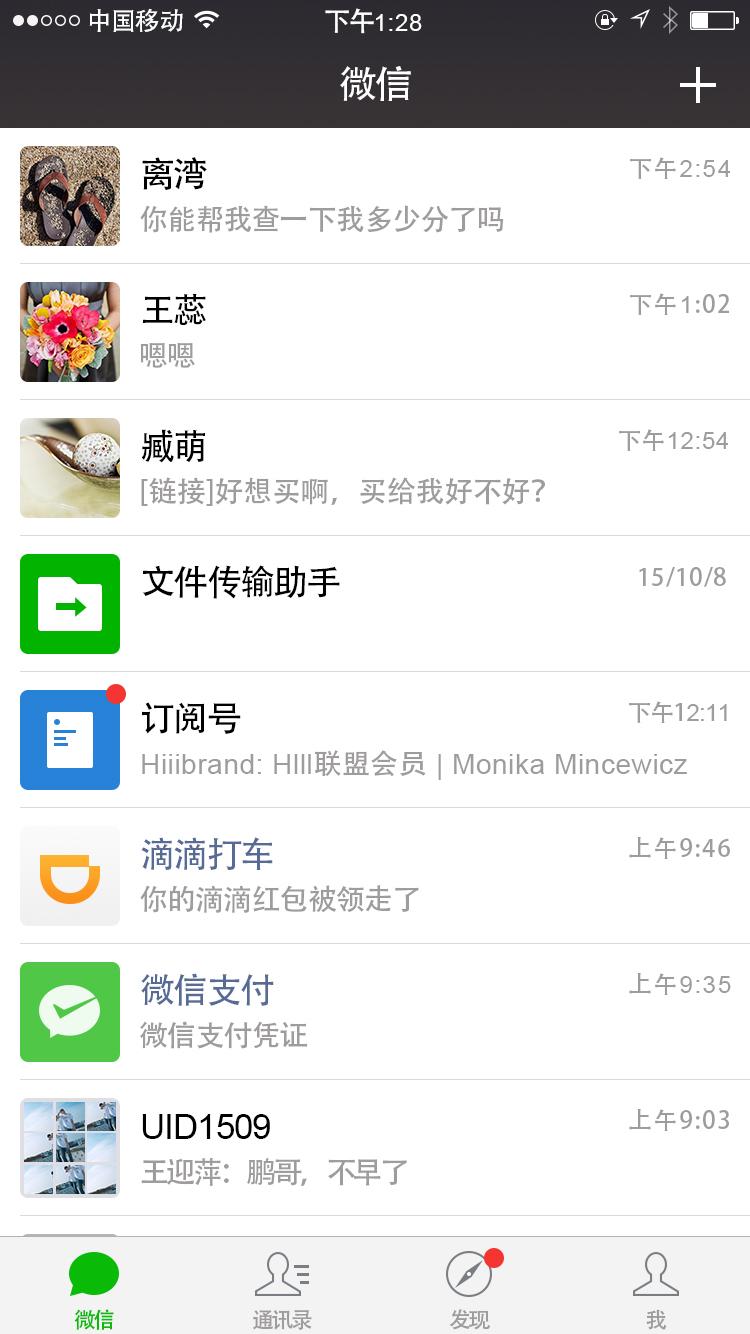
微信的界面非常的简单(如图所示),顶端是一个操作栏,上面有此APP的名字以及一个加号按钮,点击加号按钮后会出现一个下拉菜单展示所有可执行的快捷操作。底部是一个导航菜单,点击四个不同的按钮,屏幕中间的内容会跟随其一同变化。
因此,我们大致的思路是:页面应该包含一个TopAppBar,一个ButtomNavigationMenu以及四个Fragment。
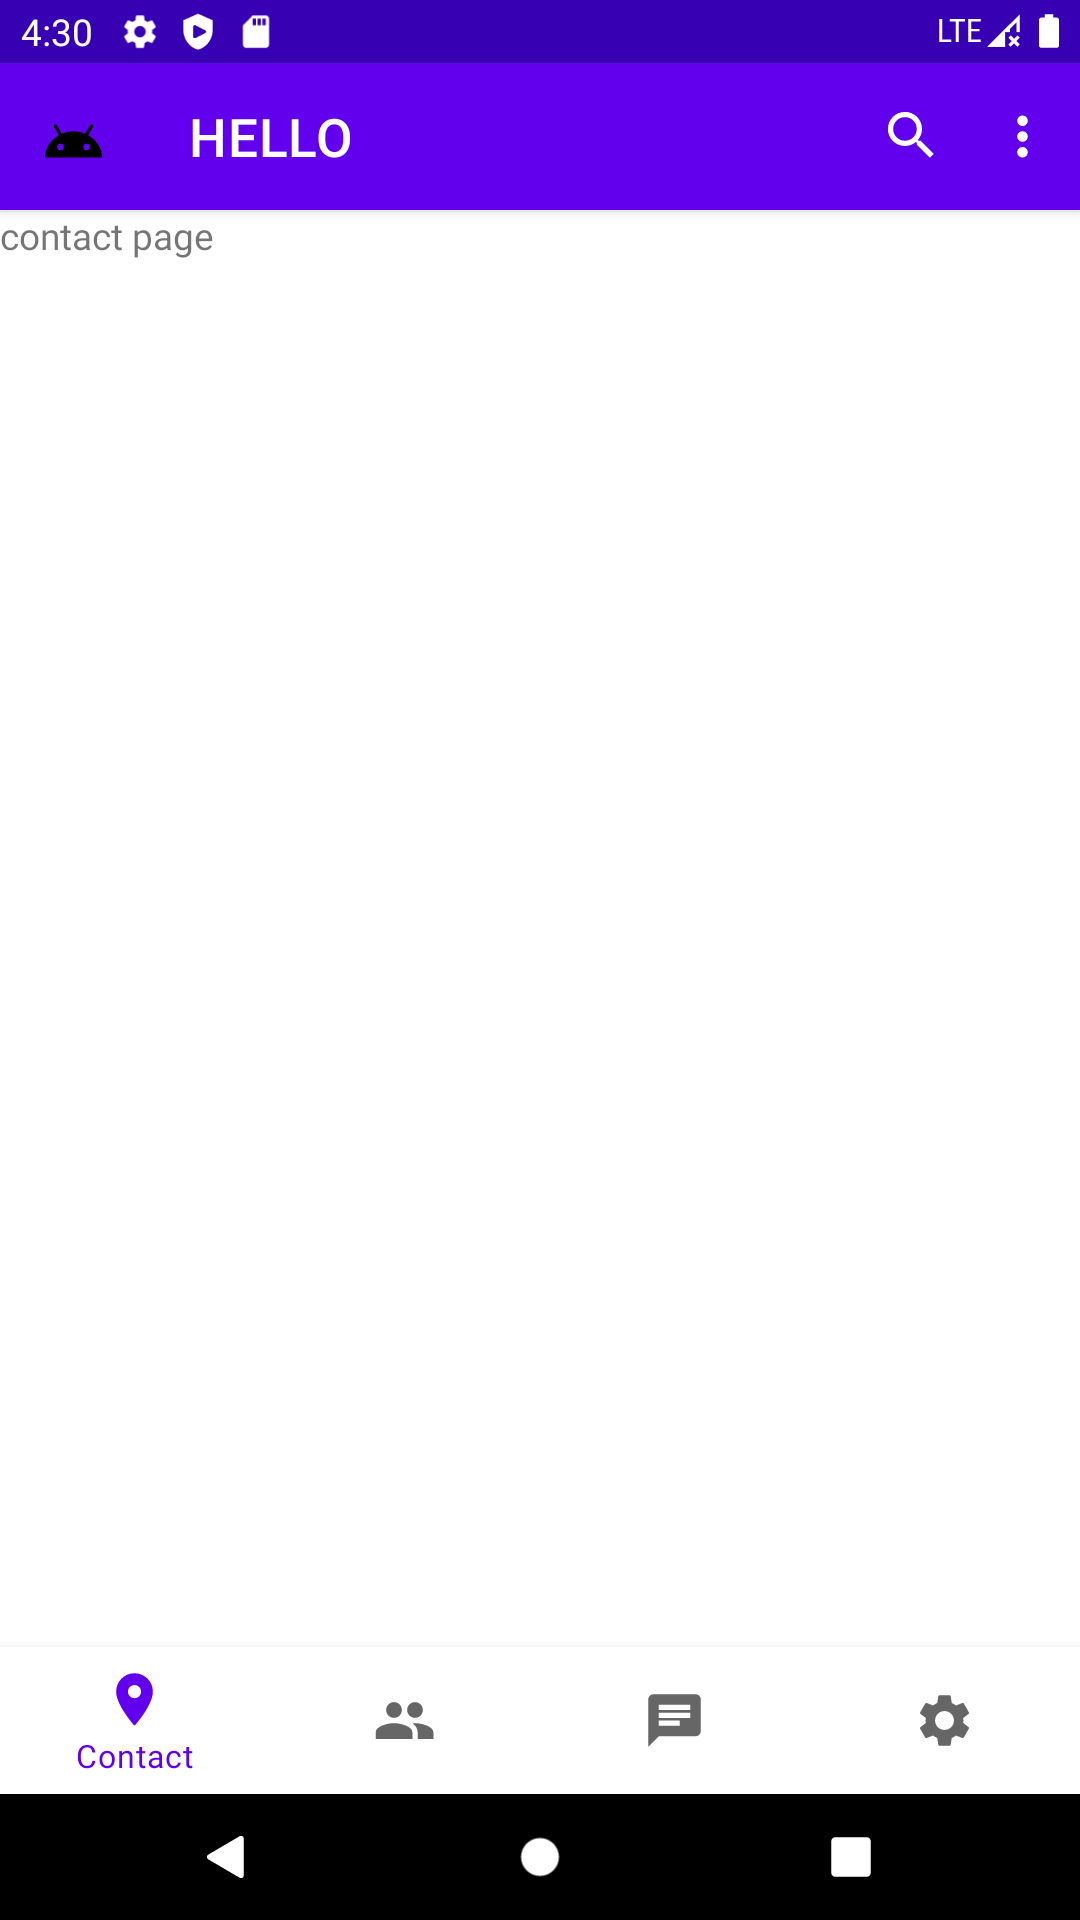
为了与Android的官方风格保持一致,这里我们使用 Android Material Design 控件进行开发,最后的效果应该如下图所示。
02 代码实现
首先,我们需要在activity_main.xml中添加TopAppBar和ButtomNavigationMenu两个控件以及中间显示内容的Fragment,并且为他们添加合适的约束条件。
需要注意的是,这里的Fragment由于需要动态填充,需要使用FragmentContainerView并且不要指定fragment的name。
<?xml version="1.0" encoding="utf-8"?>
<androidx.constraintlayout.widget.ConstraintLayout xmlns:android="http://schemas.android.com/apk/res/android"
    xmlns:app="http://schemas.android.com/apk/res-auto"
    xmlns:tools="http://schemas.android.com/tools"
    android:layout_width="match_parent"
    android:layout_height="match_parent"
    android:orientation="vertical"
    tools:context=".MainActivity">

    <com.google.android.material.appbar.AppBarLayout
        android:id="@+id/appBarLayout"
        android:layout_width="match_parent"
        android:layout_height="wrap_content"
        app:layout_constraintEnd_toEndOf="parent"
        app:layout_constraintStart_toStartOf="parent"
        app:layout_constraintTop_toTopOf="parent">

        <com.google.android.material.appbar.MaterialToolbar
            android:id="@+id/topAppBar"
            android:layout_width="match_parent"
            android:layout_height="wrap_content"
            style="@style/Widget.MaterialComponents.Toolbar.Primary"
            app:menu="@menu/top_app_bar"
            app:navigationIcon="@drawable/ic_android_black_24dp"
            app:title="@string/page_title" />

    </com.google.android.material.appbar.AppBarLayout>

    <androidx.fragment.app.FragmentContainerView
        android:id="@+id/content"
        android:layout_width="match_parent"
        android:layout_height="0dp"
        app:layout_constraintBottom_toTopOf="@+id/bottom_navigation"
        app:layout_constraintEnd_toEndOf="parent"
        app:layout_constraintStart_toStartOf="parent"
        app:layout_constraintTop_toBottomOf="@+id/appBarLayout" />

    <com.google.android.material.bottomnavigation.BottomNavigationView
        android:id="@+id/bottom_navigation"
        android:layout_width="match_parent"
        android:layout_height="wrap_content"
        app:layout_constraintBottom_toBottomOf="parent"
        app:menu="@menu/bottom_navigation_menu" />

</androidx.constraintlayout.widget.ConstraintLayout>
TopAppBar
由于在activity_main.xml当中我们指定了顶部的应用栏的菜单为@menu/top_app_bar,我们需要在menu文件夹下创建一个名为top_app_bar的菜单文件。
<?xml version="1.0" encoding="utf-8"?>
<menu xmlns:android="http://schemas.android.com/apk/res/android"
    xmlns:app="http://schemas.android.com/apk/res-auto">
    <item
        android:id="@+id/search"
        android:icon="@drawable/ic_search_24dp"
        android:title="@string/search"
        android:contentDescription="@string/content_description_search"
        app:showAsAction="ifRoom" />
    <item
        android:id="@+id/more"
        android:title="@string/more"
        android:contentDescription="@string/content_description_more"
        app:showAsAction="never" />
</menu>
Fragment
中间的内容由四个不同的Fragment进行展示。我们可以通过Android Studio的右键->New->Fragment快速创建新的Fragment。
这里我们创建了四个空白的Fragment:
- ContactFragment
- FriendFragment
- MsgFragment
- SettingFragment
接着我们需要将Fragment填充到MainActivity中:
getSupportFragmentManager().beginTransaction()
        .setReorderingAllowed(true)
        .add(R.id.content, TabContact.class, null)
        .commit();
此处仅仅是在代码中将Contact Fragment填充到了名为content的FragmentContainerView中,具体实现动态切换Fragment的代码在后文ButtomNavigationMenu中会提到。
ButtomNavigationMenu
同理,我们在这里需要一个bottom_navigation_menu。
<?xml version="1.0" encoding="utf-8"?>
<menu xmlns:android="http://schemas.android.com/apk/res/android">
    <item
        android:id="@+id/ContactItem"
        android:enabled="true"
        android:icon="@drawable/ic_baseline_location_on_24"
        android:title="@string/text_label_1"/>
    <item
        android:id="@+id/FriendItem"
        android:enabled="true"
        android:icon="@drawable/ic_baseline_people_24"
        android:title="@string/text_label_2"/>
    <item
        android:id="@+id/MsgItem"
        android:enabled="true"
        android:icon="@drawable/ic_baseline_chat_24"
        android:title="@string/text_label_3"/>
    <item
        android:id="@+id/SettingItem"
        android:enabled="true"
        android:icon="@drawable/ic_baseline_settings_24"
        android:title="@string/text_label_4"/>
</menu>
然后我们需要为这四个按钮设置点击事件:
BottomNavigationView bottomNavigationView = findViewById(R.id.bottom_navigation);
bottomNavigationView.setOnNavigationItemSelectedListener(new BottomNavigationView.OnNavigationItemSelectedListener(){
    @Override
    public boolean onNavigationItemSelected(@NonNull MenuItem item) {
        switch(item.getItemId()){
            case R.id.ContactItem:
                replaceFragment(TabContact.class);
                return true;
            case R.id.FriendItem:
                replaceFragment(TabFriend.class);
                return true;
            case R.id.MsgItem:
                replaceFragment(TabMsg.class);
                return true;
            case R.id.SettingItem:
                replaceFragment(TabSetting.class);
                return true;
            default:
                break;
        }
        return false;
    }
});
为了简化代码,此处将替换fragment的代码做成了一个函数replaceFragment():
private void replaceFragment(Class fragment) {
    getSupportFragmentManager().beginTransaction()
            .replace(R.id.content, fragment, null)
            .setReorderingAllowed(true)
            .commit();
}
简单来说,Android的Fragment动态替换需要FragmentManager的参与。通过FragmentManager开启一个事务,在事务中替换成新的fragment,随后提交变动。
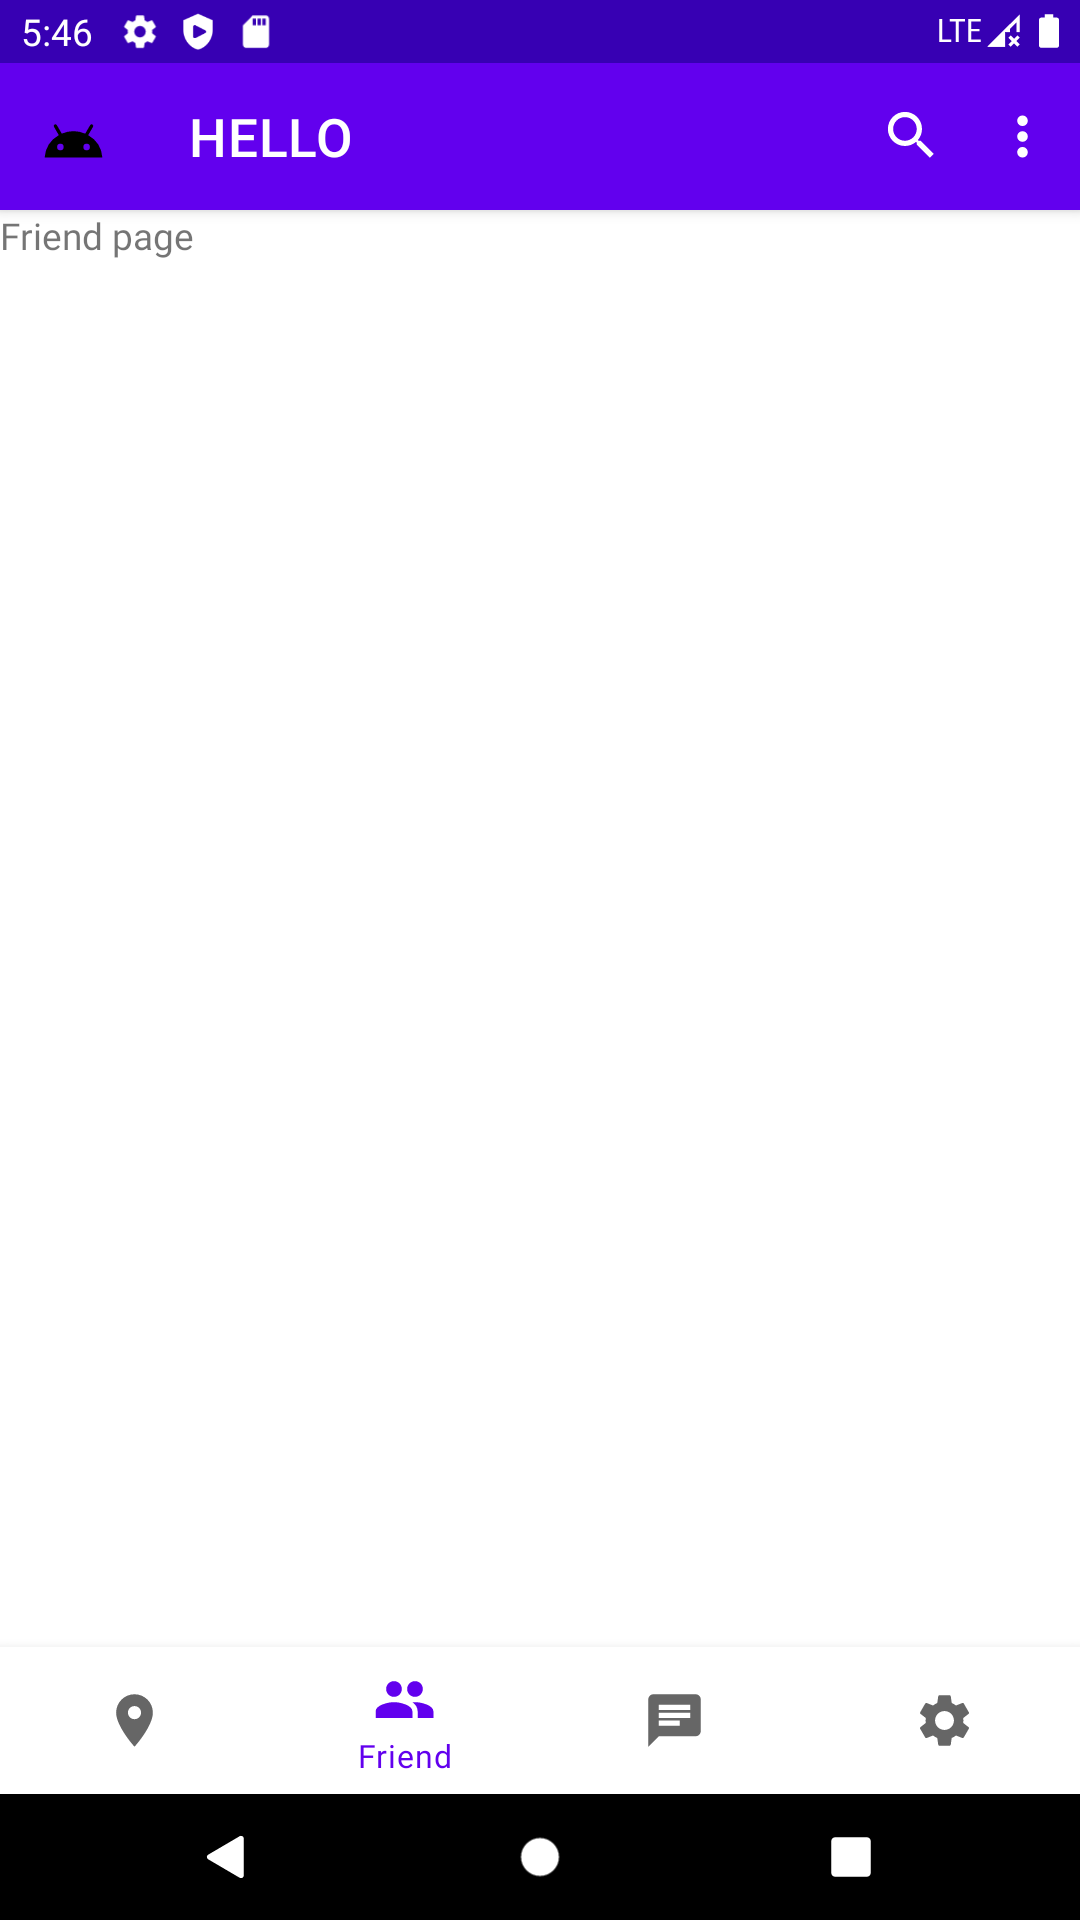
03 最终效果
切换页面:
04 源码
Github:https://github.com/Retr0ve/AndroidCrouse1